Hello. I noticed that in version 25.6.24.2435, if you set the custom field to “Show custom field on printed documents” then "
Show at the top of printed documents", it will only show it at the lower portion of the printed document.
1 Like
@EnryLance you can shift the custom field on top by the help of new Theme Enhancer, if you are not using custom theme.
1 Like
Please follow the link.
2 Likes
Here are the steps to make your custom field appear at the top of printed documents:
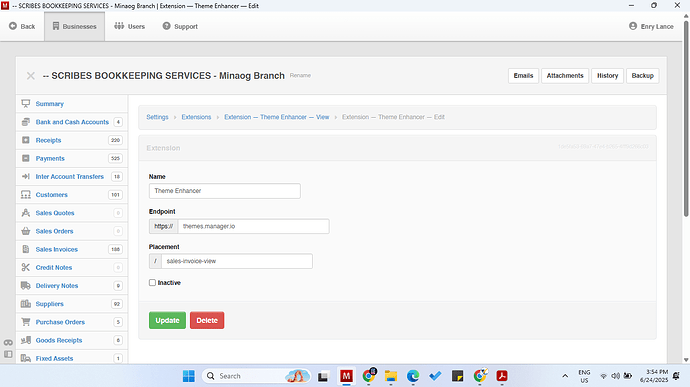
- Activate Theme Enhancer:
- Go to Settings > Extensions > Click Edit on Theme Enhancer > Uncheck Inactive > Click Update.
- Create an Invoice Template from the Sales Invoices Menu:
- Go to Sales Invoices > Click New Sales Invoice.
- Enter the invoice details for templating purposes, including your custom field > Click Create.
- Scroll to the bottom of the page > Click Theme Enhancer > Click Submit.
- Scroll to the bottom again and enter your instructions.
Example: “Place my phone number (custom field) below the Due Date.”
Click Submit. Repeat this step and refine your instructions until the template matches your expectations. - Once you’re satisfied with the template, give the instruction to save the theme, then click Submit.
- Use Your Custom Theme:
- Go to Sales Invoices > Click New Sales Invoice.
- Fill in the invoice details. Before submitting, check the Custom Theme option and select the custom theme you created.
- Click Create.
Congratulations! You’ve successfully created your custom theme.
If you want to set this theme as the default for new invoices, you can do so by editing the Custom Theme in the Form Default section.
1 Like
Superb… Thanks for sharing valuable information.
